Showing posts with label homemade sweets. Show all posts
Monday, 2 February 2015
I Just Wanna Bake - Homemade Peppermint Bark
This recipe follows on (kind of) from last weeks Candy Cane recipe, as this is where a lot of my candy canes ended up, however you don't need have made the candy canes to make the peppermint bark - any style of boiled mint can be used.
Peppermint bark is essentially three layers of melted chocolate with crushed mints on the top - a super simple recipe that tastes AMAZING, of all the sweets I made my fam for Christmas Peppermint Bark was certainly the fav.
Ingredients:
-200g White Chocolate
-100g Milk or Dark Chocolate
-Boiled Peppermints (The amount can vary depending upon your pepperminty desires)
-Peppermint Flavouring
*You can alter the kinds of chocolate used to match your preferences, as well as the quantities if you wanted to make a larger(or smaller) batch.
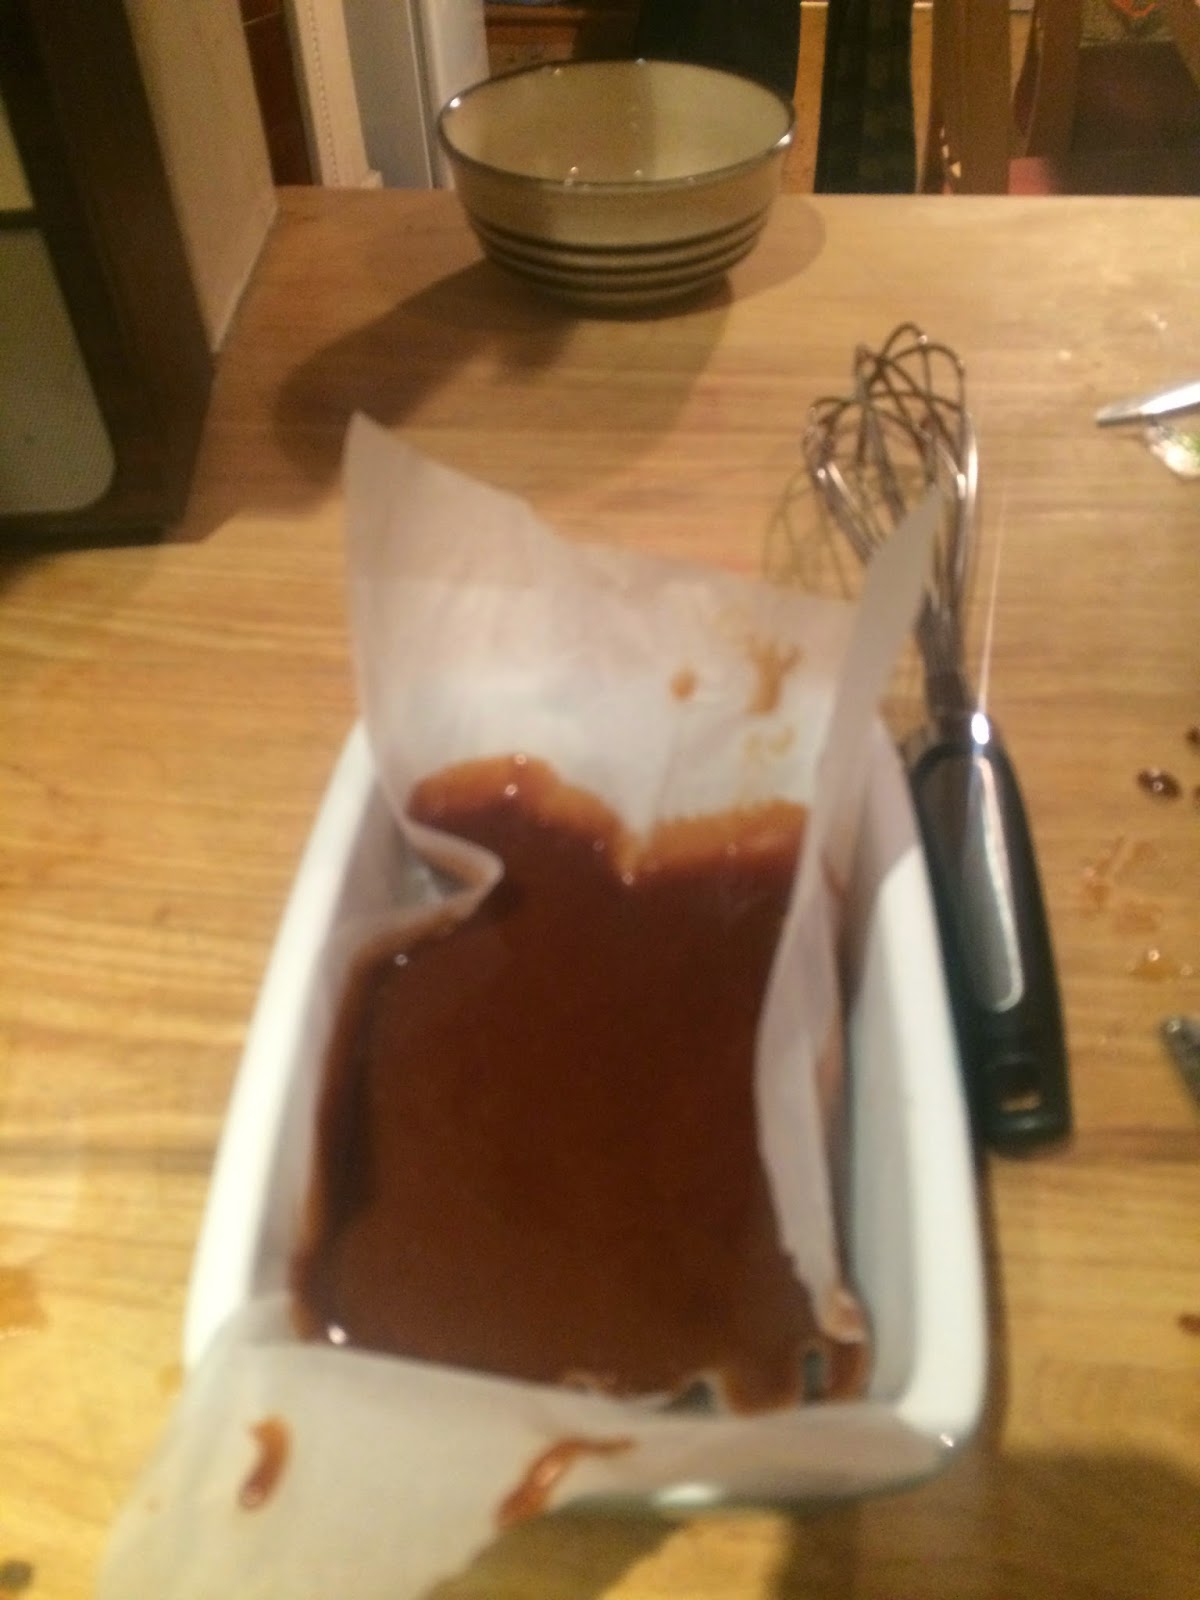
First, line a dish with parchment paper, ready to pour in the first layer of chocolate. Begin by melting 100g of the white choc, when fully melted pour into the dish, ensure it creates an evenly spread layer spanning the dish. Being ever impatient I didn't wait for the white choc to fully set before adding my next layer, I think this worked well though, it allowed the flavours to merge more and created some pretty effects with the chocolate.
Onto the next layer, melt the milk chocolate, but this time before pouring into the dish add a few drops of peppermint flavouring, stir in briefly, ensuring the chocolate doesn't become lumpy, then pour over the white chocolate. Make sure again that it spans the dish in a nice even layer, covering the white, not to worry if it's not covered completely has the third layer still needs to be added.
Repeat step one, melting the second white bar and pour over. Yay, now you have your lovely chocolatey base, I loved the amount of melting chocolate involved in this recipe has it meant I got to lick the bowl so many times - love love love melted choc.
You'll now want to crush your peppermints, or perhaps have them prepared beforehand. I used the end of a wooden spoon to crush mine, although I'm sure a rolling pin would be just as effective. When crushed sprinkle the peppermints over the choc, no need to wait for the choc to set as you'll want to peppermints to sink in. Push the peppermints into the chocolate gently to ensure there in place and won't fall out when the chocolates set.
Leave the bark to set now, in a few hours you'll have a gorgeous slap of minty-ness, when fully set break into pieces, and there you have it peppermint bark!
Monday, 26 January 2015
I Just Wanna Bake - Homemade Candy Canes
Now I know what your thinking, Candy Canes in January surely not, and you would be correct - this is a very much delayed recipe post from one of my Christmas creations.
With my recently discovered passion for baking sweets, I decided what better presents to give my lovely jubbley fam for Christmas than some home made goodness. So I set about writing a list of sweets to bake them, and the one flashing at me, surrounded by ding-ding-ding bulbs, screaming Christmas was of cause the candy cane.
I thought to myself when starting out with this recipe, sure, candy canes, can't be that hard, right? wrong. It wasn't so much the boiling process involved, it was the process afterwards, twisting together two pieces of super hot minted sugar and bending into a candy cane turned out to much more tricky than I'd imagined. I'll try to talk through that aspect of the process in more detail so you'll be more aware if you attempt to make them. Although I have to confess in the end (due to a lack in varieties of food colouring) I turned my canes into mint sweets, and the remainder I used in next weeks recipe: Pepper Mint Bark.
Ingredients:
- 400g granulated sugar
- 120ml golden syrup
- 120ml water
-1/4 teaspoon cream of tarter
-peppermint essence
Combine the sugar, water, golden syrup and heat in a heavy based pan until they are all dissolved! Bring the mixture to the boil and add the cream of tarter, you'll then want to boil the mixture rapidly until it reaches the hard crack stage.
You'll now want to half your mixture, pouring it in half, into two greased dishes, add a few drops of peppermint essence to each and food colouring. You can add any colour you wish, I used red and left the other without has I only had one colour, but I'd recommend using two. (Sadly I couldn't find anywhere that sold white food colouring, so my canes weren't very traditional)
Here comes the tricky bits. With your food colouring and flavouring added you need to sort of kneed the gloops of sugar, I used a metal spatular for help, has the sugar was super hot it was so so tricky. Now pull a piece off of each gloop and try to create long rope like lengths of each, with your two lengths ready, try to twist them together - wrapping them around each other. When the twisting is complete mould into the shape of a candy cane. You will notice that the mixture starts to harden the longer it is left, in order to loosen it and make it more mouldable you can place it in the oven, not too hot though it'll go back to a liquid form.
I hope this made some form of sense. Perhaps rubber gloves might help with avoiding burning your hands when handling the sugar?
Monday, 19 January 2015
I just Wanna Bake - Homemade Chewy Toffee
Chewy Toffee was close at the top of my list of sweets to make, although sadly creating it did not go quite as smoothly as I'd imagined. It was in making this recipe for the first time that I realised quite how important a heavy based pan is when boiling sugar - it took me several attempts, a few different recipes and involved a trip to the bin.
One of the things I love most about making sweets, and this is a strange one, is the research and experimenting involved when my first attempt doesn't quite go to plan, the scribbled notes all leading me towards the perfect combinations. With toffee I leaped in two feet first, hoping for the best. Now as previously mentioned this first attempt didn't go well, it was edible, it just wasn't toffee and it wasn't very nice, I had created a sort fudge/ toffee/ caramel high bred which had no chew to it whatsoever and so sadly into the bin it had to go. It was back to the recipe books, researching how to get the perfect toffee chewy-ness!! These are my top toffee making tips I discovered:
- If you want a chewy toffee cook the syrup to a temperature of between 245-275F
-If its firmer toffee's you desire cook to 320F
-Using a variety of sugars creates a more intense caramel flavour
-Do not leave the toffee's to set completely before cutting - or it's a super tricky task
-No matter how tempted you are DON'T stir the mixture when cooking
-Corn syrup = Golden syrup
Although I used a combination of recipes, my favourite one can be found here.
Ingredients:
-200ml cream (I used whipping but you can use others; single, double etc)
-165g Caster Sugar
-165g Soft Brown Sugar
-75g Unsalted Butter
-3 large Table Spoons of Golden Syrup
-1/4 Teaspoon Salt
-Vanilla Essence
Before you start cooking, like with any recipe prepare your baking tray, line trays with parchment paper ready to pour the toffee into.
Firstly add the caster sugar and 30ml of water into your heavy based pan, melt until golden brown. Then take it off the heat and add your cream, butter, salt, brown sugar and golden syrup - place back onto boil, add your themometre to the side of then pan to keep a close eye on the toffee's rising temperature. DO NOT STIR. You don't want to cook the toffee on a super high heat or the sugar will burn, so keep it on a low-medium temperature, adjusting if you feel it's too high or might start to burn. Be patient.
Continue cooking the mixture until you reach your desired boiling point, this will vary depending upon the texture of toffees you want. I cooked mine to 245/250F and these created a chewy toffee with a lovely texture. Then take off the heat and add in your vanilla essence.
Pour the mixture into the prepared trays and leave to set. At this point it you wanted to add nuts of berries to your toffee's you can push them into the mixture while it's still soft and gooey, I left mine plain.
Don't leave your mixture to set completely or it'll be prove to be too hard to cut into pieces, but at the same time you don't want it to be too gooey to cut either. This really is a trial and error process, so you might want to test cutting the toffee every so often.
You can then wrap you toffee in parchment paper, creating individual sweets, and there we have it lovely chewy toffee.
Sunday, 11 January 2015
I just Wanna Bake - Homemade Jazzies
I very belated Happy New Year!
This weeks sweet recipe is a super simple one, but such a favourite of mine - the ever yummy Jazzie!
Ingredients:
100g White Chocolate
Hundred and Thousands
(Milk and Dark Chocolate also work wonders)
Firstly line a tray with grease proof paper, or two trays depending upon your desired quantity. Now you can begin melting the chocolate, for best results place a glass bowl over a source pan of boiling water - ensuring that the bowl is not touching the water. Break up the chocolate into pieces and place into the bowl.
Melting white chocolate is slightly more tricky than milk or dark, due its lower burning point it can tend to overheat quickly, becoming stodgy and unusable. It's important to keep a close eye on it when melting. A great trick is to take the chocolate off the boil before it is all completely melted, the remaining lumps will melt if you continue to stir the chocolate and by removing it from the heat it won't overheat. Melt on a medium heat.
Now that the chocolate is ready take a teaspoon and start creating chocolate disks on the grease proof paper, these can be any size and thickness you prefer. I made a mixer of sizes for mine. With your disks completed you can add the hundreds and thousands to the top, simple sprinkle over the chocolate while its still warm. You may want to gently press them into the chocolate to ensure they stay in place. All you need to do now is wait for the disks to cool, when ready they can easily be removed from the grease proof paper and are ready to eat.
Monday, 15 December 2014
I just wanna Bake - Homemade Honeycomb
Since buying a sugar thermometer I've become somewhat obsessed with the idea of making my own sweets, so I thought why not turn my 'I just Wanna Bake' post on Homemade Marshmallows into a regular feature. I'm going to be creating different sweets each week and sharing my results; the good, the bad and the straight into the bin!
This weeks sweet of choice is Honeycomb, or as I've had to describe to some of my friends, the none chocolate part of a crunchie!! After looking up multiple recipes online I settled on one from Nigella, slightly adjusting her quantities to suit my more greedy needs!
Ingredients:
200g Caster sugar
7 Heaped tablespoons of Golden syrup
3 Teaspoons Bicarbonate of Soda
The essential item for this, and the majority of the sweets I will be making is a sugar thermometer, and as I recently discovered a heavy based pan. The pan really does make a massive difference, I tried using a normal saucepan while making toffee and it just caused the sugar to burn rapidly, swap to a lovely hard based pan and my results improved dramatically.
Into my wonderful hard based pan I added both the Caster sugar and Golden syrup, mixing the two together slightly with a wooden spoon (although you'll want to be sure not to stir the mixture once the hob is turned on). Turn on the hob and cook on a medium heat, ensuring that your sugar thermometer is attached to the side of the pan so you can clearly see the temperature. You can how my mixture started out below- golden in colour.
You want the mixture to reach 149C on your sugar thermometer, otherwise known has the hard crack stage - this may take some time but be patient and don't wander off from your pan of you could miss the crucial temperature.You'll see the mixture bubble away from a beautiful golden colour into a much darker maple shade - you can see mine below.
Once you reach 149C take the pan off the heat and add the 3 teaspoons of bicarb powder, whisk this into the mixture, as you do so you'll see the mixture erupt into a gorgeous mass of liquid gold. You'll then want to act quickly, pouring the mixture into baking tray or dish lined with parchment paper.
Leave the Honeycomb to set, when it has completely cooled you can remove the parchment paper and smash it into chunks. If your feeling extra jazzy you could then dip the honeycomb chunks into melted chocolate - creating your very own crunches!
The length of time the honeycomb can be kept for depends upon the humidity, if your in a hot climate it won't keep as well and will tend to soften faster. Having baked mine in December I'm hopeful I can store it for several weeks, if kept in an airtight container, I've also wrapped my batch up in parchment paper to increase its freshness.
I'd love to hear any tips of suggestions, have you tried making this recipe yourself? How did yours turn out?
Sunday, 23 November 2014
I just wanna bake - Homemade Marshmallows
I've once again been neglecting my little blog, I must stop doing this.
Recently I've found myself getting a lot more into baking, specifically the idea of making my own sweets. A few weeks ago it was my Mums birthday, and a jar of homemade marshmallows seemed like the perfect gift idea.
After being overwhelmed by possible recipe ideas online, I picked an egg free one has I hoped this would be easier for a first attempt - you can find the recipe I used here.
At first I was nervous that there might be a tricky process involved, but it was a lot simpler than I had imaged and I'd certainly recommend giving the recipe ago. From researching how best to make them the one overwhelming essential item for marshmallow, and sweet making in general is a sugar thermometer - this measures the temperature of the sugar when boiling. Without it, its much more guess related, and you have to rely on seeing if the sugar creates balls when dropped in water, the thermometer took out this guess work and made everything much more accurate.
You can pretty much make the mallows to any flavour you wish - I made Vanilla, Rose and Chocolate flavours (I also added in some food colouring to turn the Rose mallows pink).
Subscribe to:
Comments (Atom)


