Showing posts with label i just wanna bake. Show all posts

Monday, 26 January 2015

I Just Wanna Bake - Homemade Candy Canes


Now I know what your thinking, Candy Canes in January surely not, and you would be correct - this is a very much delayed recipe post from one of my Christmas creations. 

With my recently discovered passion for baking sweets, I decided what better presents to give my lovely jubbley fam for Christmas than some home made goodness. So I set about writing a list of sweets to bake them, and the one flashing at me, surrounded by ding-ding-ding bulbs, screaming Christmas was of cause the candy cane. 

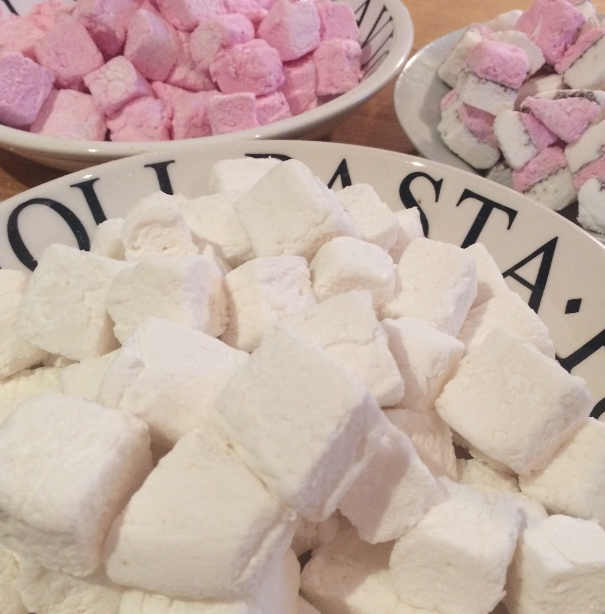
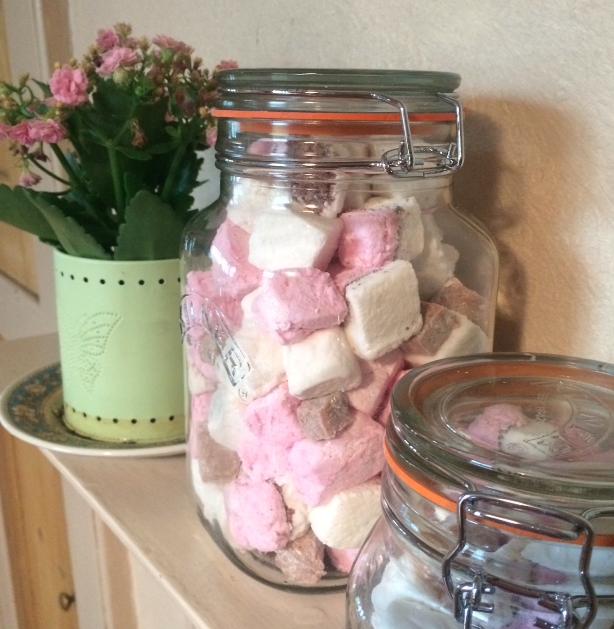
I thought to myself when starting out with this recipe, sure, candy canes, can't be that hard, right? wrong. It wasn't so much the boiling process involved, it was the process afterwards, twisting together two pieces of super hot minted sugar and bending into a candy cane turned out to much more tricky than I'd imagined. I'll try to talk through that aspect of the process in more detail so you'll be more aware if you attempt to make them. Although I have to confess in the end (due to a lack in varieties of food colouring) I turned my canes into mint sweets, and the remainder I used in next weeks recipe: Pepper Mint Bark.

Ingredients:
- 400g granulated sugar
- 120ml golden syrup
- 120ml water
-1/4 teaspoon cream of tarter
-peppermint essence 

Combine the sugar, water, golden syrup and heat in a heavy based pan until they are all dissolved! Bring the mixture to the boil and add the cream of tarter, you'll then want to boil the mixture rapidly until it reaches the hard crack stage. 

You'll now want to half your mixture, pouring  it in half, into two greased dishes, add a few drops of peppermint essence to each and food colouring. You can add any colour you wish, I used red and left the other without has I only had one colour, but I'd recommend using two. (Sadly I couldn't find anywhere that sold white food colouring, so my canes weren't very traditional)

Here comes the tricky bits. With your food colouring and flavouring added you need to sort of kneed the gloops of sugar, I used a metal spatular for help, has the sugar was super hot it was so so tricky. Now pull a piece off of each gloop and try to create long rope like lengths of each, with your two lengths ready, try to twist them together - wrapping them around each other. When the twisting is complete mould into the shape of a candy cane. You will notice that the mixture starts to harden the longer it is left, in order to loosen it and make it more mouldable you can place it in the oven, not too hot though it'll go back to a liquid form. 


I hope this made some form of sense. Perhaps rubber gloves might help with avoiding burning your hands when handling the sugar?

Monday, 15 December 2014

I just wanna Bake - Homemade Honeycomb


Since buying a sugar thermometer I've become somewhat obsessed with the idea of making my own sweets, so I thought why not turn my 'I just Wanna Bake' post on Homemade Marshmallows  into a regular feature. I'm going to be creating different sweets each week and sharing my results; the good, the bad and the straight into the bin! 

This weeks sweet of choice is Honeycomb, or as I've had to describe to some of my friends, the none chocolate part of a crunchie!! After looking up multiple recipes online I settled on one from Nigella, slightly adjusting her quantities to suit my more greedy needs! 

Ingredients:
200g Caster sugar
7 Heaped tablespoons of Golden syrup
3 Teaspoons Bicarbonate of Soda

The essential item for this, and the majority of the sweets I will be making is a sugar thermometer, and as I recently discovered a heavy based pan. The pan really does make a massive difference, I tried using a normal saucepan while making toffee and it just caused the sugar to burn rapidly, swap to a lovely hard based pan and my results improved dramatically.

Into my wonderful hard based pan I added both the Caster sugar and Golden syrup, mixing the two together slightly with a wooden spoon (although you'll want to be sure not to stir the mixture once the hob is turned on). Turn on the hob and cook on a medium heat, ensuring that your sugar thermometer is attached to the side of the pan so you can clearly see the temperature. You can how my mixture started out below- golden in colour.


You want the mixture to reach 149C on your sugar thermometer, otherwise known has the hard crack stage - this may take some time but be patient and don't wander off from your pan of you could miss the crucial temperature.You'll see the mixture bubble away from a beautiful golden colour into a much darker maple shade - you can see mine below.


Once you reach 149C take the pan off the heat and add the 3 teaspoons of bicarb powder, whisk this into the mixture, as you do so you'll see the mixture erupt into a gorgeous mass of liquid gold. You'll then want to act quickly, pouring the mixture into baking tray or dish lined with parchment paper. 


Leave the Honeycomb to set, when it has completely cooled you can remove the parchment paper and smash it into chunks. If your feeling extra jazzy you could then dip the honeycomb chunks into melted chocolate - creating your very own crunches! 


The length of time the honeycomb can be kept for depends upon the humidity, if your in a hot climate it won't keep as well and will tend to soften faster. Having baked mine in December I'm hopeful I can store it for several weeks, if kept in an airtight container, I've also wrapped my batch up in parchment paper to increase its freshness. 

I'd love to hear any tips of suggestions, have you tried making this recipe yourself? How did yours turn out?

Sunday, 23 November 2014

I just wanna bake - Homemade Marshmallows


I've once again been neglecting my little blog, I must stop doing this.

Recently I've found myself getting a lot more into baking, specifically the idea of making my own sweets. A few weeks ago it was my Mums birthday, and a jar of homemade marshmallows seemed like the perfect gift idea. 

After being overwhelmed by possible recipe ideas online, I picked an egg free one has I hoped this would be easier for a first attempt - you can find the recipe I used here

At first I was nervous that there might be a tricky process involved, but it was a lot simpler than I had imaged and I'd certainly recommend giving the recipe ago. From researching how best to make them the one overwhelming essential item for marshmallow, and sweet making in general is a sugar thermometer - this measures the temperature of the sugar when boiling. Without it, its much more guess related, and you have to rely on seeing if the sugar creates balls when dropped in water, the thermometer took out this guess work and made everything much more accurate. 

You can pretty much make the mallows to any flavour you wish - I made Vanilla, Rose and Chocolate flavours (I also added in some food colouring to turn the Rose mallows pink).